Manage rows inside the email editor
Templates are composed of rows. This article explains how to take advantage of it. You will find how to include empty rows with a defined structure, how to use a predefined set of rows, and how to create and manage your own custom rows (that you will be able to reuse in any template).
In this section
| Rows tab |
Rows tab
If you go to the Rows tab inside the editor, you will find different categories of rows that you can drag and include in your design. More or less will be available depending on whether you have contracted or not a paid plan. The next subsections cover all the different types of rows you will find, as well as how to save, edit and delete your custom rows.
Empty rows
This category includes rows without content, but with different layouts that will allow you to structure your content in blocks. You can select a single row that occupies the entire width, two columns of equal size, two columns that each occupy a certain percentage, etc.
Keep in mind that the content you add will always be subject to the structure of the row in which it is included. This structure is responsive so the width will adapt to the display devices.

Predefined rows
If you have a paid plan, in the Rows tab you will find an additional drop-down with a series of categories.
You'll find predefined rows in the following categories:
- Header. Here you will find rows with useful content distribution for the header of your emails or landing pages.
- Content. Here you will find rows with the distribution of useful content for the body or central part of your emails or landing pages.
- Footer. Here you will find rows with useful content distribution for the final part of your emails or landing pages.
You can take advantage of these predefined rows as a starting point (both structure and content), where you will only have to customize the colors, images, texts, and links already located.

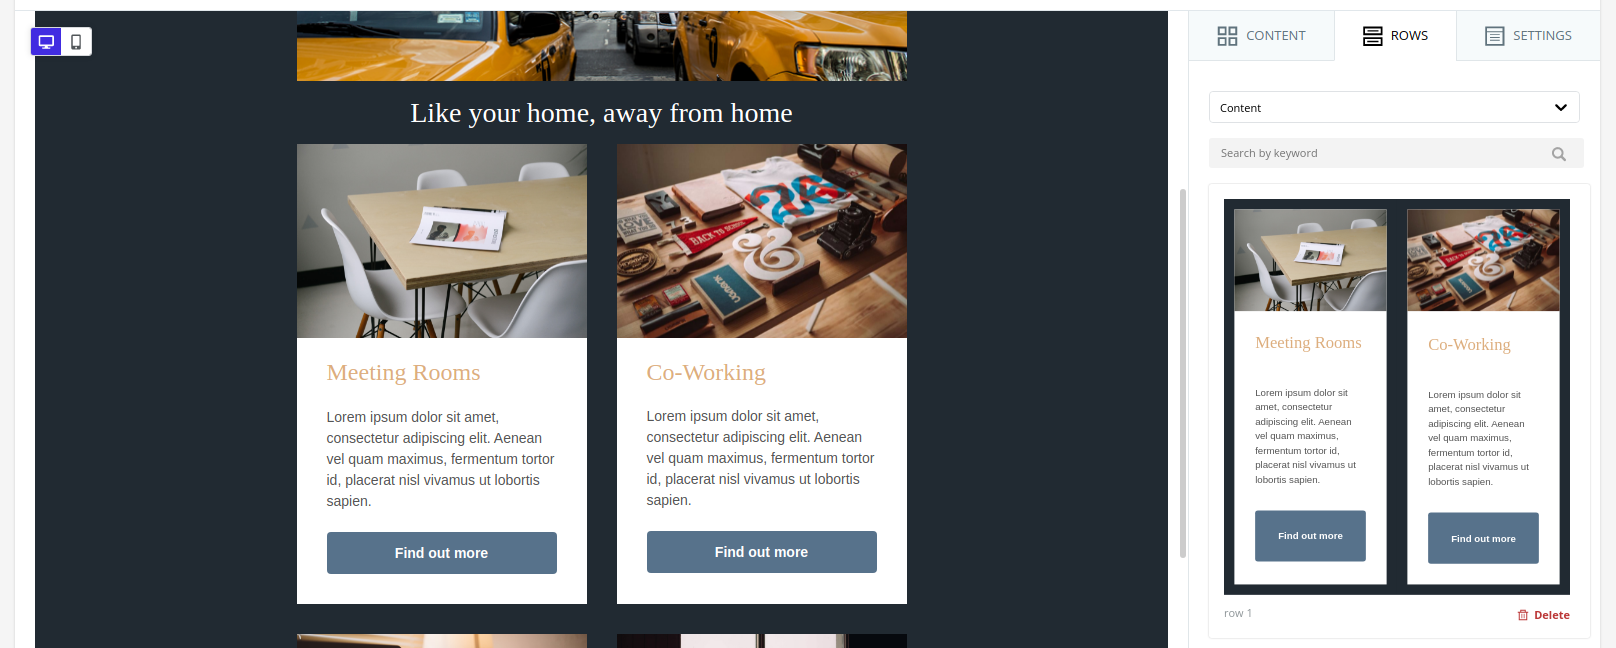
Save a custom row
Apart from the predefined rows, you have the possibility to create and save your own rows. Once you save a row, it will be reusable in the rest of your templates.
To save a row, you will only have to select it and hit the save button (the first of the three buttons in the upper right corner). This button will be visible only to customers with a paid plan.

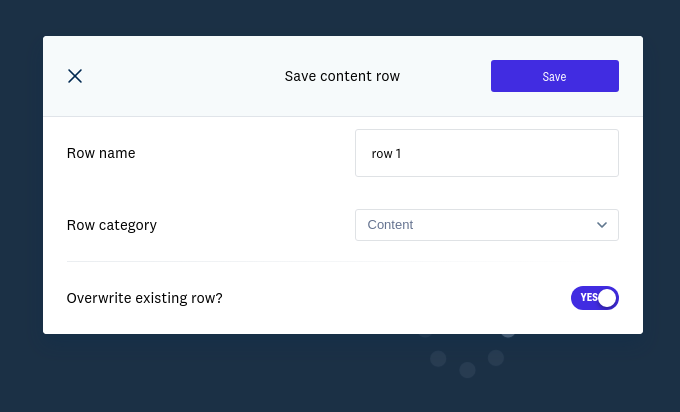
This will open a popup where you will have to choose the name of your row and decide under which category it will be saved. The categories available are: Header, Content, Footer and Others.

Once saved, if you select its category you can find it along with the rest of the predefined rows.
You should note that this feature is not available on the free plan. To pricing plans, depending on the specific plan you can save more or fewer rows. If you reach your save row limit, the save action cannot be completed.

Update an existing row
Once you've saved a row, you can drag it to add it to any of your templates, as long as they're the same type. This means that the saved rows for the email templates will not appear to you in the landing page editor and vice versa.
Starting from a saved row, if you drag it to the editor and apply changes to it, you have two options:
- Save a new row with your changes. This way, you'll still have the original row (the first one you saved) and this new version available separately. To do this you will have to check "No" in the option of Overwrite existing row? (default option).
- Overwrite the original row with the changes. This way you can change the name of the row, move it from the category or update its content. To do this you will have to check "Yes" in the option of Overwrite existing row?
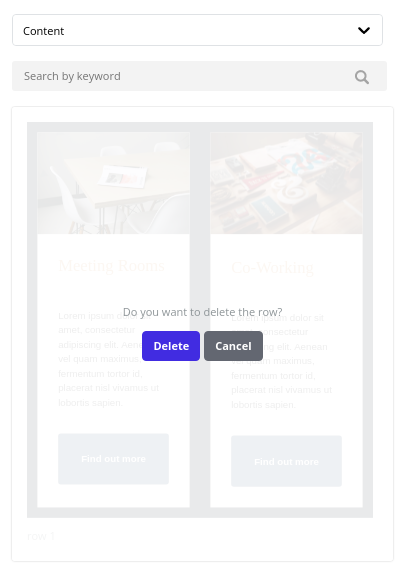
Delete an existing row
You can delete rows that are no longer useful to you. To do this you have to click on the Delete button that appears in the lower right corner of each row. Once you have clicked and confirmed the action the row will be deleted. Remember that predefined rows cannot be deleted, only your own rows.